Art Truck Build
Share
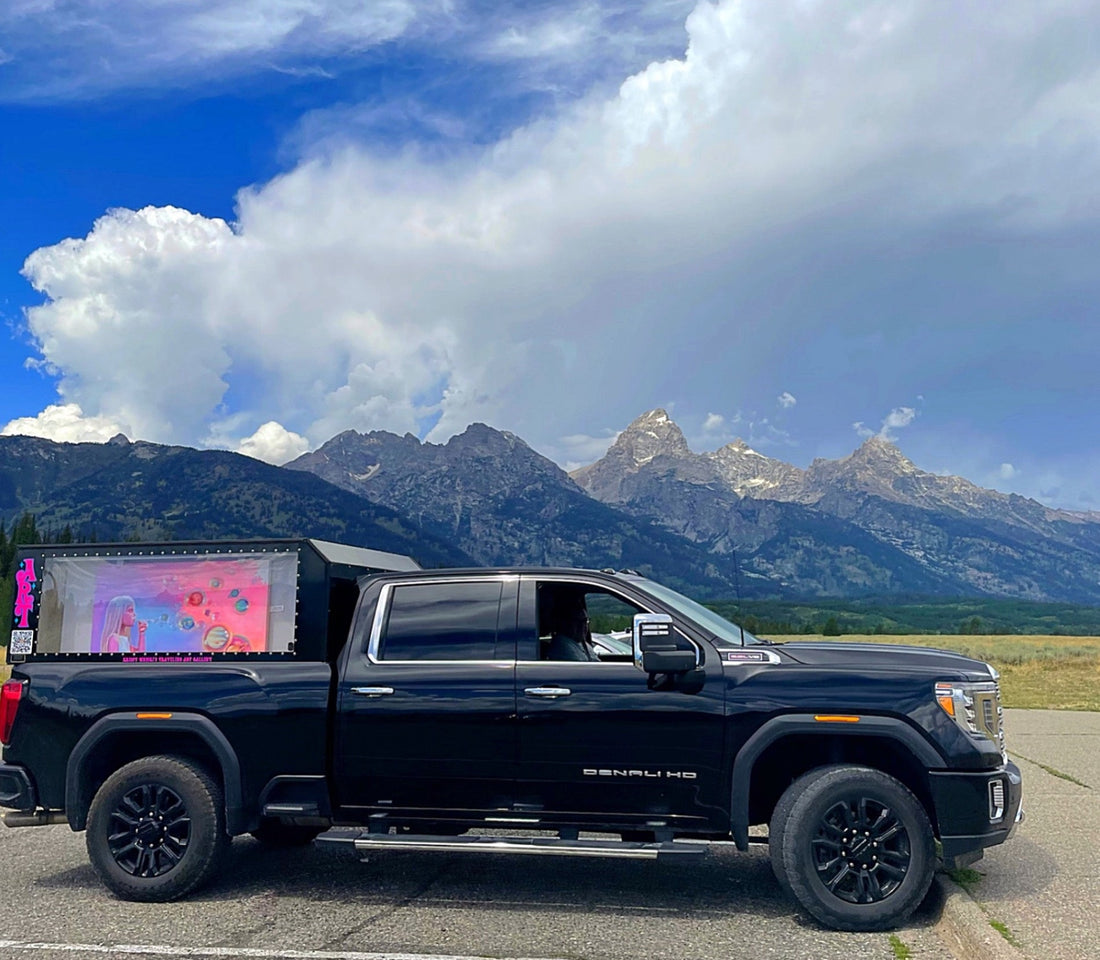
Hi, I am Jeff, and I am going to walk you through the build of the Art Truck.
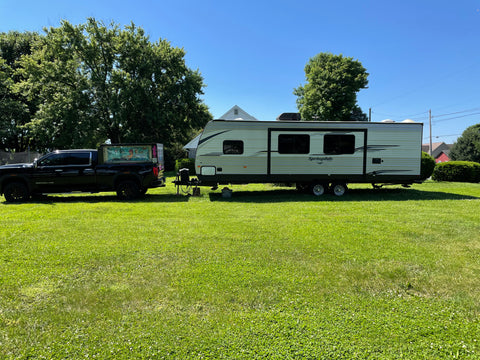
The idea for the Art Truck came from realizing the Art Cart could be so much more, and people needed Krissy's art where they would never expect it. The idea was first conceived in ~2019, but it wasn't until we decided to buy a travel trailer and truck to have an epic 3-month road trip with our family ending at Burning Man 2022.
Design Criteria
- Display the actual art, not a print, not a wrap, but the actual canvas art.
- Be able to handle most sizes of canvas Krissy typically works on.
- Not be so tall as it would be hard to handle in the wind.
- Be removable from the truck and mounted via a typical cap method.
- Have windows on each side and the back to show the art.
- Have the ability to cover the art if someone has an issue with it.
- Take into consideration UV light from the sun and the heat build-up within the box.
- Have a power system independent of running the truck for lighting, cameras, and event gear.
- Have an easy way for condensation or water to move away from the art.
- Be able to mount the canvases safely, considering it is a very bumpy environment.
- Be able to use the back of the truck to hold our gear.
- Have a removable rack system to hold more art and their stands for the additional art.
- Fit in the 2021 GMC 2500HD bed we purchased for the trip.
Sketches and Mock-Up


How to Build It??
This was the big question: how to build it? In the months of buying the truck, I looked into cap manufacturers, mainly ARE, which had a flat-top custom line. But when it came to ordering it, I found out they were no longer making them. I also looked at all the listings for used caps that I could modify. Nothing was showing up in the North East and even down South.
So when I got the truck the next day, I hit the road going to every truck cap company in a two-hour radius; PA, DE, NJ, and MD were visited. I was being ridiculed for my idea or shown $8K caps that I would then have to tear apart to modify. Several days into this, out of desperation, I called a local company because I saw them making huge collapsable and towable Amish wedding venues, Ideal Manufacturing https://idealmanufacturingllc.com/. I explained what I was looking to do and was asked if I had talked to Gap Aluminum, to which I hadn't, and they told me this is what they do. I was told they were up on Rt 30 by the giant cross and a stack of truck beds. So I hit the road, and 10 minutes later, I was there.
Driving into Gap Hill Aluminum was a complete surprise as they are an Amish company building custom truck beds and caps, and there were stacks of them! I explained to one of their foremen what I wanted to do, and he said in classic dry PA Dutch accent, "ok, but we can't source the windows, and you have to figure out mounting the art." I was sent home with a laundry list of questions to solve; two days later, I was back with answers and put on the schedule, and in 3-4 weeks, the work would begin.
In the meantime, I learned about Lexan windows, thickness, mountings, and UV ratings. I worked with Polymershapes https://www.polymershapes.com/locations/trevose/ to get the 1/4" Lexan windows cut and the specs for mounting them. The rear window was the most complicated. I worked with White Horse Machine to source the stainless steel bolts and rubber-backed washers to mount the glass into the cap.

The Cap Build
The first day of the build was scheduled, and this is when I found out the cap minus the boxes for the art would be built by the owner's relative Melvin at https://www.gaphillfarmwagons.com/, another Amish-owned company. We worked out the initial layouts and constraints, and he built the frame. Then, we collaborated and adjusted until it all came together.


Finished with the skin and windows in place. We chose a white roof to help with heat.


With work this nice, we made sure its creator signed it!

How To Mount The Art?
The whole time this was being built I was cooking up different ideas on how to mount the art to the plywood panels that would go behind the windows. This was the design I went with.


I opted not to use the through bolt and instead used hex head screws to attach them from behind, which was nice and neat.
The grand reveal!


Lighting, Cameras and Power
For power, I worked with Smucker's Energy https://smuckersenergy.com/ to design a battery and charger/inverter system. It turned out their owner was our neighbor's son! We wound up getting some gently used hardware for quite the savings.


Shore power connection for charging and 120V out for event fun!

Regarding lighting and the cameras, things were challenging due to Covid supply chain issues. I could only get my hands on WiFi security cameras and an older Raspberry Pi 3 to run motioneyeos to capture the feed from the cameras. I also needed a wifi router for everything to work and for connecting to the Raspberry Pi for configuration.
The lighting was a 12v rope lighting with a diffusion cover so one would not see the reflection of each bulb.
This meant it was time to build the main panel to host all of that and the controls for the inverter/charger.
I built it right because I built it twice! The tolerances were quite tight. After the summer on the road, I rebuilt it a third time but with connectors to make removing it easier. This shows the third build.


A lot was learned by the third build, mainly that crimp connectors that are cheap suck, and it's worth getting good ones. I also learned that to power greater than 10' lengths of USB cable for the cameras I needed dedicated 5V converters.
The cameras were attached to motioneyeos via RTSP protocol and were saved to a 1TB SSD drive.


Reflection from the windows has been a bit of an issue with these cameras and a very choppy video. This will likely be handled when they are upgraded in 2024.
But the lights worked fantastically!

I also built shades in case we had a problem and needed to cover the art. To date, we have never had a problem! The wood handle and pin are how they get rolled up and down and then held in position.

The Art Truck Gets Signage!
Krissy designed the logos and labels for the Art Truck and figured out how to get QR codes that people can access in cars driving around us!


The Art Truck Hits The Road
We did a quick shake-down drive to Asbury Park, NJ, and it was on that ride that we saw the truck's power and the QR Codes!

Then we hit the road on a 12K mile 3-month road trip around the US, which ended at Burning Man 2022 with the whole family!


How it worked out?
Well, no art was damaged in any way, and no dust got on any of the art at Burning Man. We had lots of great serendipitous interactions of joy and wonder.
We have learned a lot about how to get attention and what works for engagement, and now the Art Truck is available for events! https://krissywhiski.com/pages/krissys-art-truck
I gave a talk after these travels about the Art Truck build and its technology at Tech Lancaster https://techlancaster.com/, and you can watch that talk here:
Removing for Repairs
After having a tire blow out and damage the truck bed the cap had to be removed for the repairs. This allowed us to get some photos of the cap that show a bit more detail on its build and it allowed us to weigh the different setups.
Rough Weights From A CAT Scale
- Cap, batteries, and window art - 800 lbs
- The batteries are 130 lbs each, so the cap and art is roughly 540 lbs
- Full show setup of racks, weights, chairs, tent, etc. - 700 lbs

